【精选】unity入门 |
您所在的位置:网站首页 › unity 游戏 源码 › 【精选】unity入门 |
【精选】unity入门
|
unity入门——实现一个简单的跑酷游戏
场景搭建
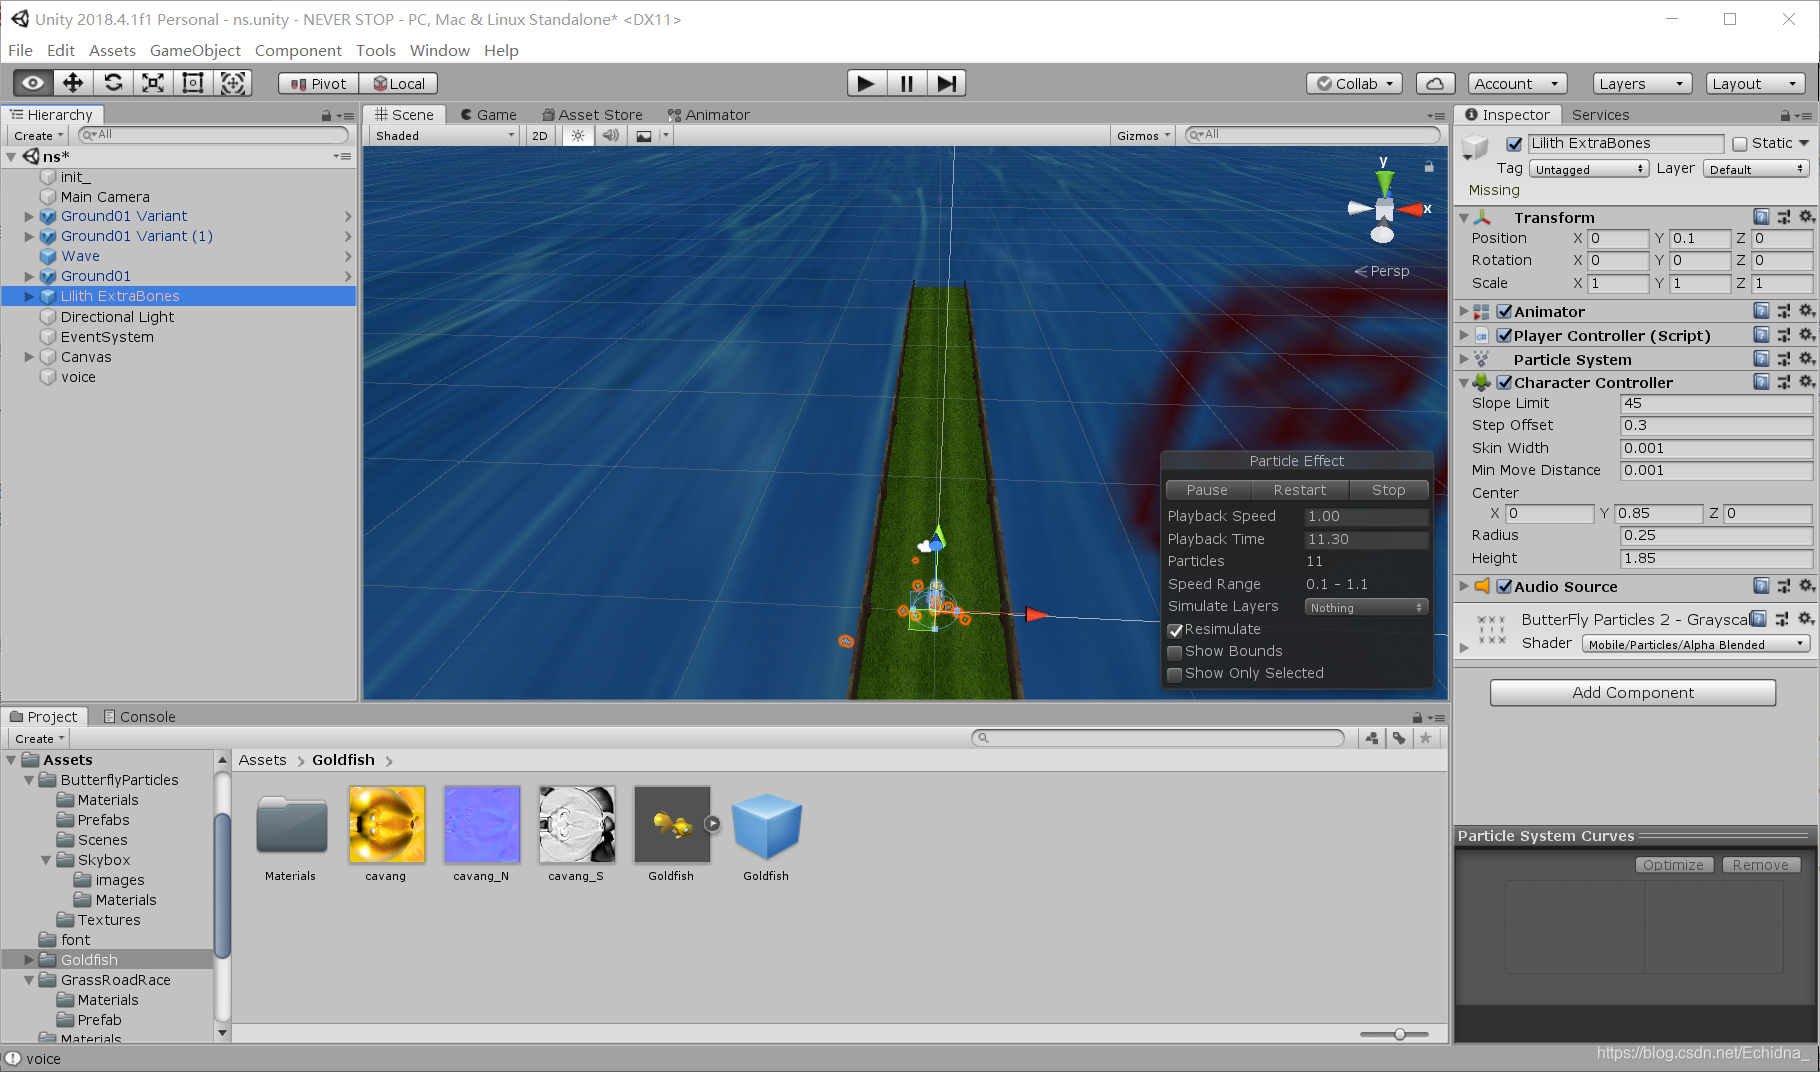
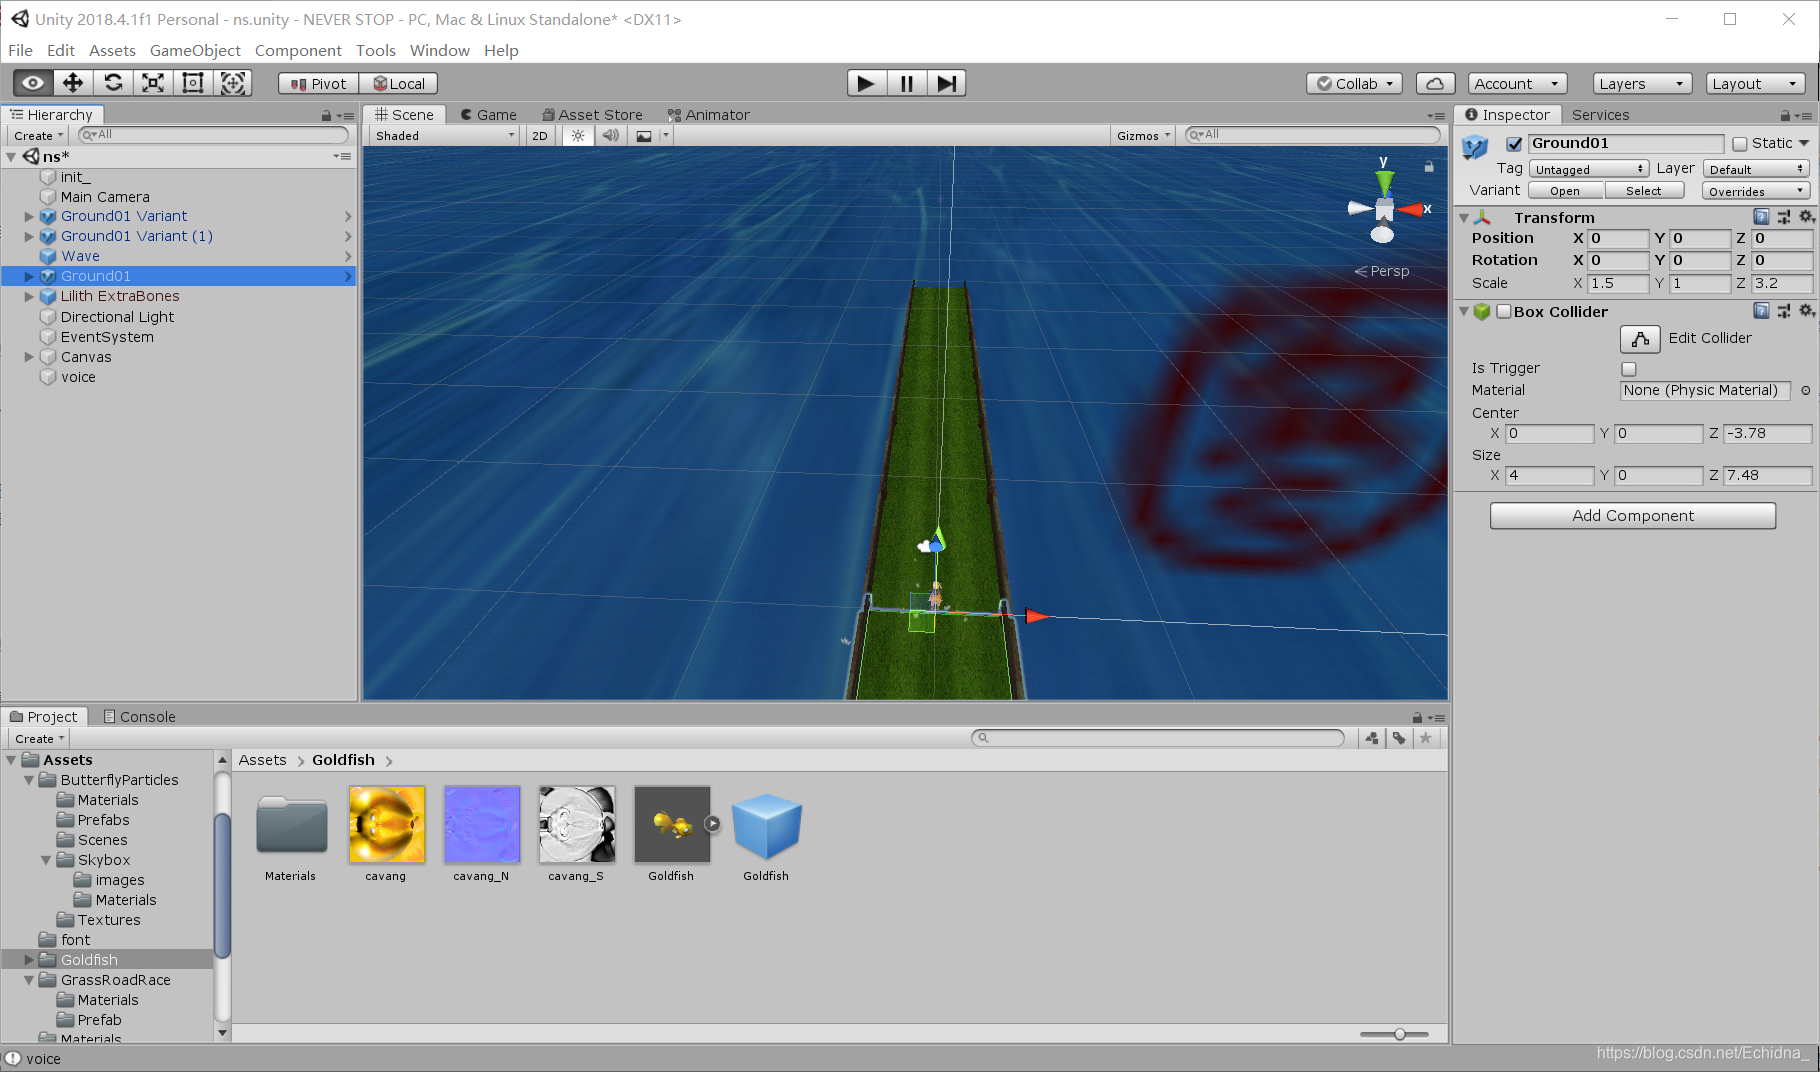
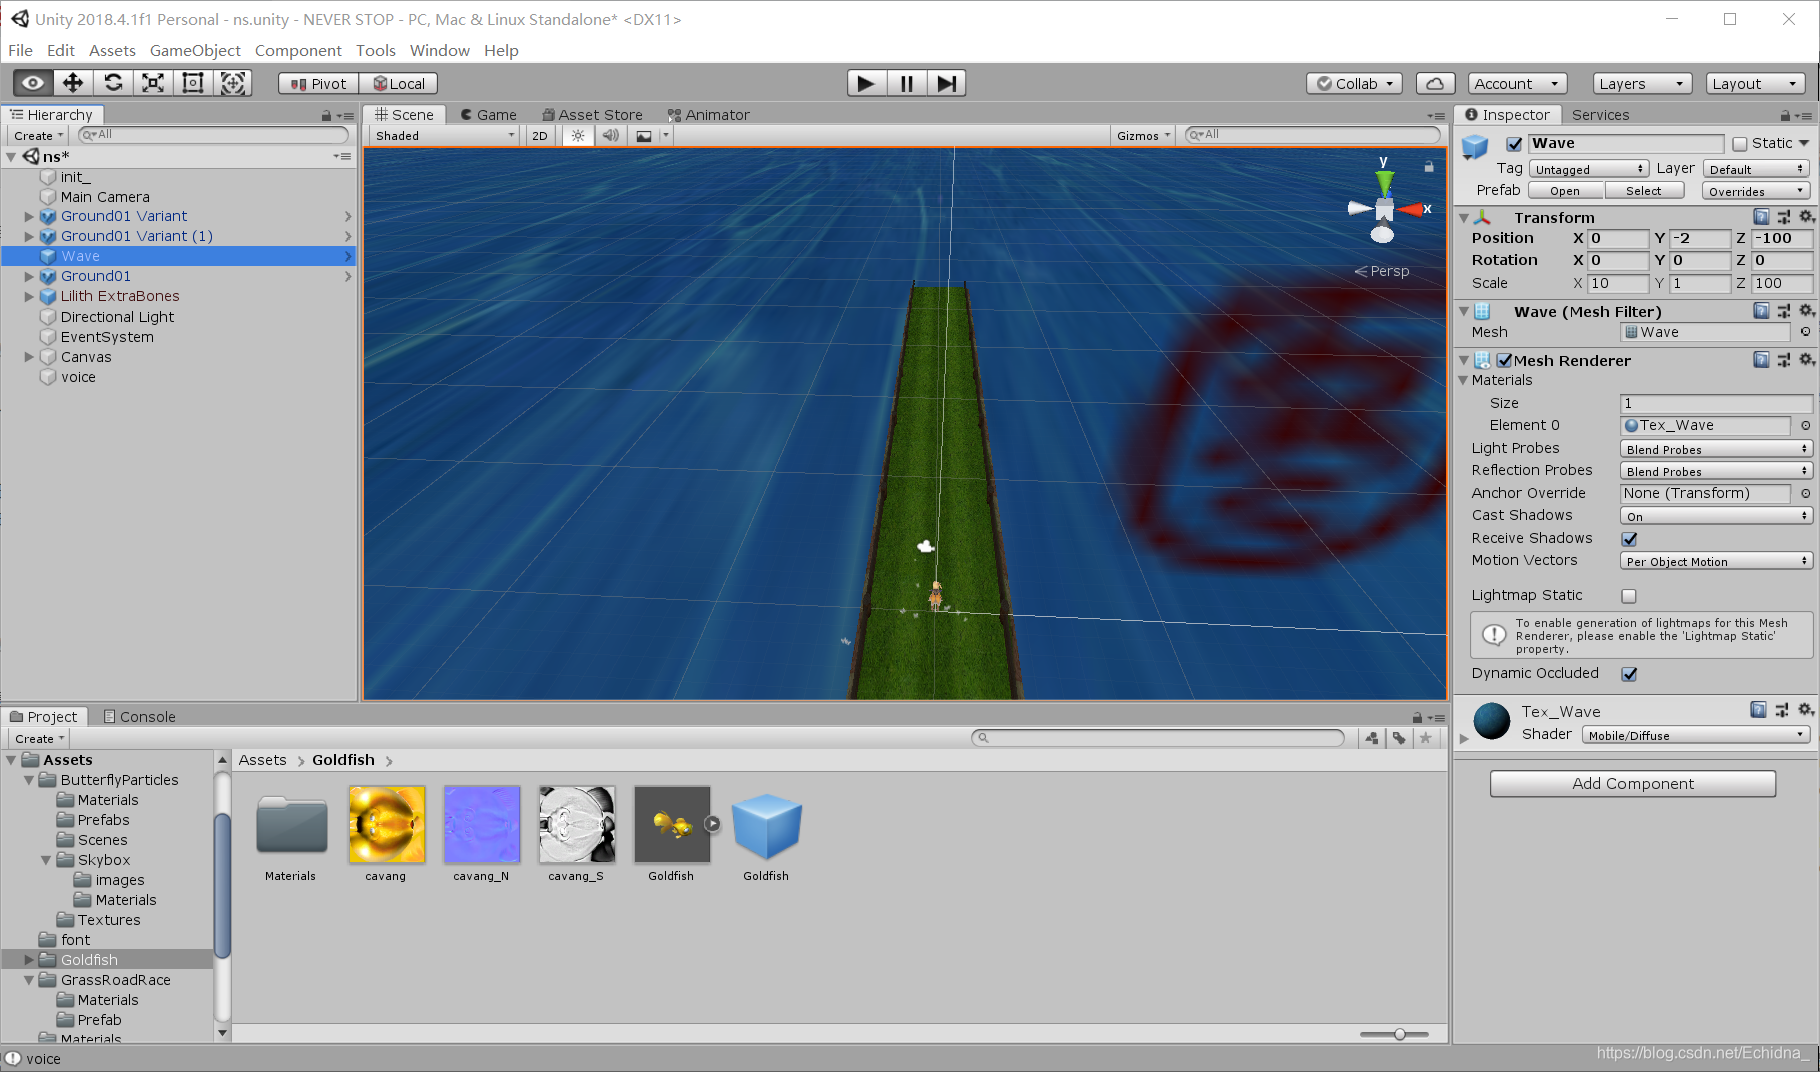
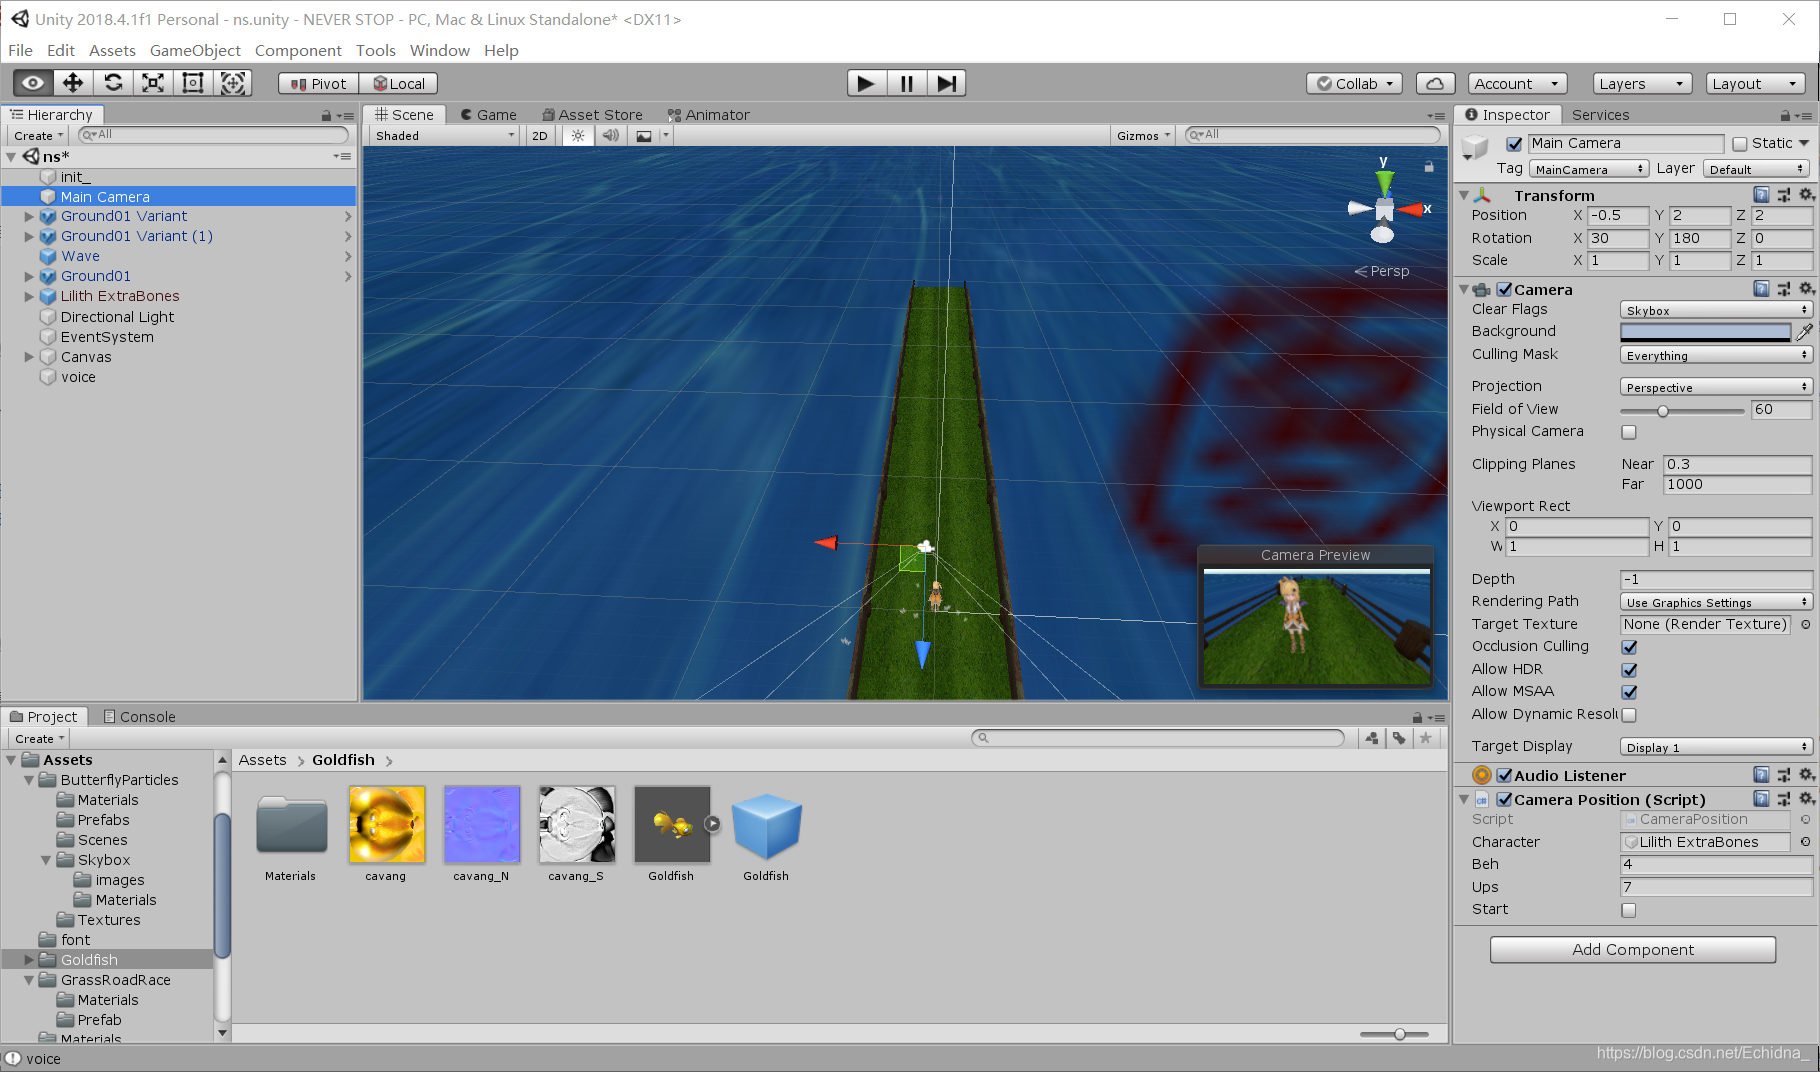
将人物放置于世界坐标的(0,0.1,0),初始道路放置于人物脚下,坐标设置为(0,0,0),水面初始位置设置为(0,-2,-100),可以自行调整,道路与人物在y轴上不要 重合即可,当然这些操作也可以放在Awake函数中动态进行,但直接摆放显然是最快捷的方法。
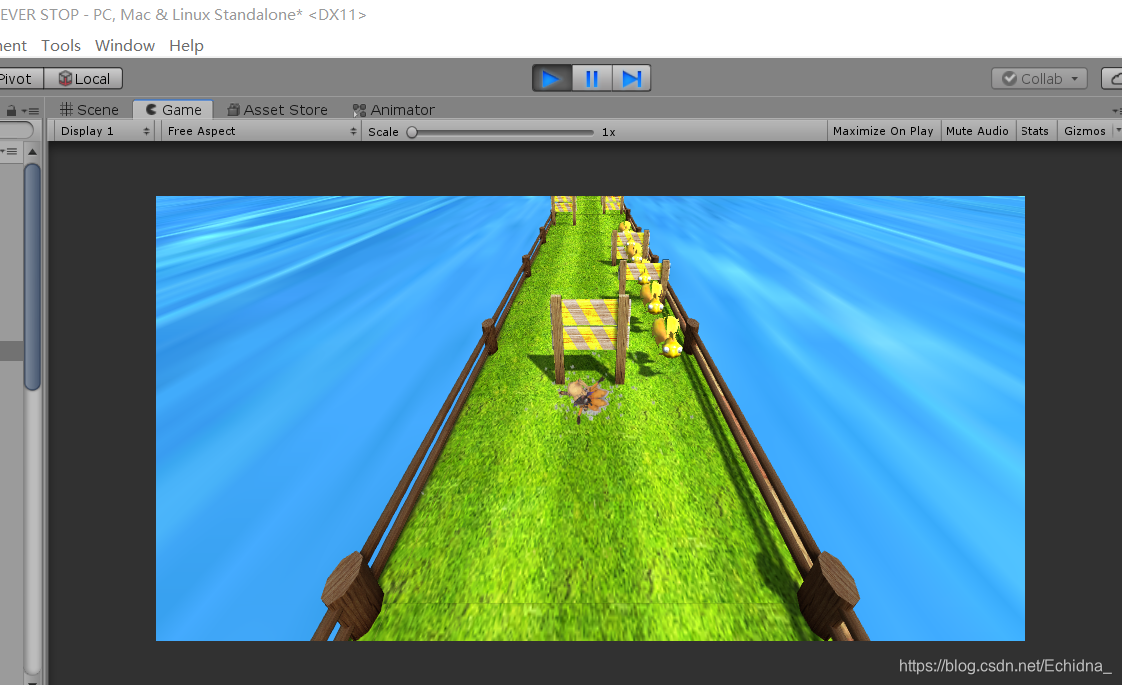
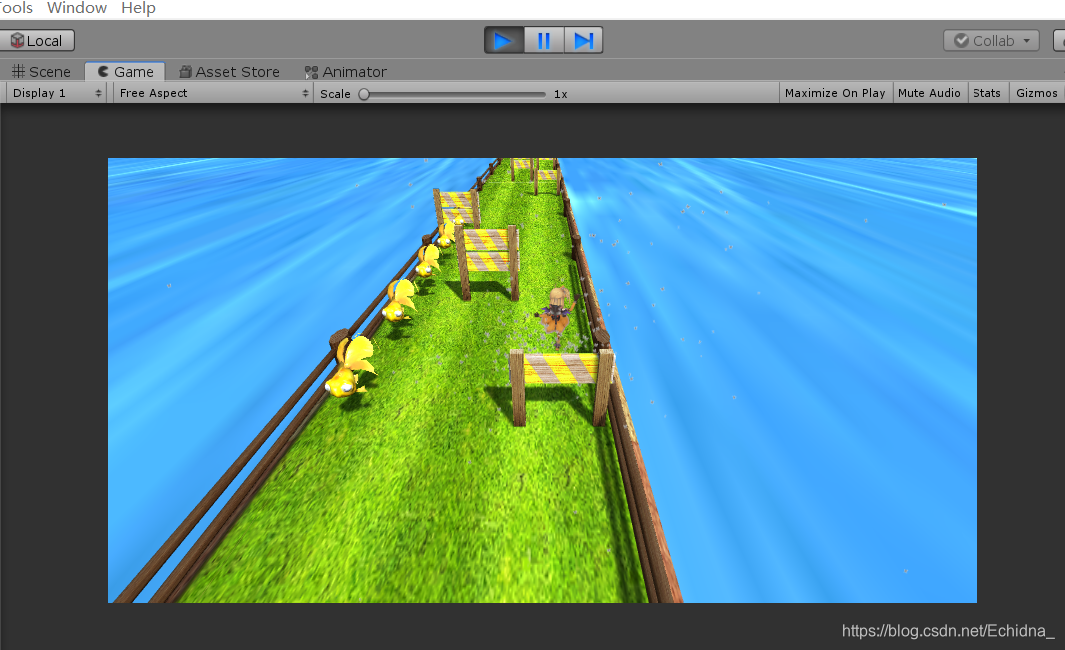
这时候点击运行游戏大概率什么也看不到,我们需要将摄像机放置于人物面前,按照如下设置其transform组件的属性。 一款简单的跑酷游戏的人物需要有前进,跳跃,下滑和左右移动的动作,而人物在前进的同时需要摄像头跟随,这里就需要脚本实现了。 /*CameraPosition.cs,挂载于main camera*/ public GameObject character; public float beh=4;//相机距离 public float ups=7;//相机高度 void LateUpdate() { if (start) { transform.position = character.transform.position - Vector3.forward * beh + Vector3.up * ups; transform.LookAt(character.transform); } }正如第一篇所说,相机的跟随需要 在人物位置改变之后,因此在LateUpdate中进行。 人物进入游戏后设置为奔跑状态。 public Animator playerAnimator; public int framerate=30; CharacterController ctrl; bool isjumping = false; bool issliding = false; bool ismoving = false; bool isleft = false; bool isright = false; public float speed = 5f; public GameObject hard;//难度 public Vector2 screenaixY = new Vector2(0, 1); public Vector2 screenaixX = new Vector2(1, 0); Vector2 startpos; Vector2 endpos; bool isinput = false; float angle; void Start() { Transform pos; pos=GetComponent(); pos.position = new Vector3(0, 0.1f, 0); ctrl = GetComponent(); playerAnimator = GetComponent(); playerAnimator.SetBool("MOVE", true); }接下来在Update函数中完成其他动作及其音效的触发。 #if UNITY_STANDALONE_WIN//如果是windows平台 if (Input.GetKeyDown(KeyCode.UpArrow) && (isjumping == false) && (issliding == false)) { GetComponent().clip = Resources.Load("jump"); GetComponent().PlayOneShot(GetComponent().clip); isjumping = true; playerAnimator.SetBool("ISJUMP", true); } if (Input.GetKeyDown(KeyCode.DownArrow) && (isjumping == false) && (issliding == false)) { GetComponent().clip = Resources.Load("slide"); GetComponent().PlayOneShot(GetComponent().clip); issliding = true; playerAnimator.SetBool("ISSLIDE", true); } if (Input.GetKeyDown(KeyCode.LeftArrow) && (!isright) && (!isleft)) { isleft = true; StartCoroutine(turnleft()); } /*while(transform.position.x >= -f) transform.position += new Vector3(-1, 0, 0)*Time.deltaTime*5;*/ if (Input.GetKeyDown(KeyCode.RightArrow) && (!isleft) && (!isright)) { isright = true; StartCoroutine(turnright());//协程的使用 } #endif #if UNITY_ANDROID//如果是Android平台 if(Input .touchCount==1) { if (Input.touches[0].phase == TouchPhase.Began) startpos = Input.touches[0].position; if(Input.touches[0].phase==TouchPhase.Ended&&Input .touches[0].phase!=TouchPhase.Canceled) { endpos = Input.touches[0].position; isinput = true; } } if (isinput) { Vector2 nowdir = endpos - startpos; float cosvx = Vector3.Dot(nowdir, screenaixX) / nowdir.magnitude * screenaixX.magnitude; float cosvy = Vector3.Dot(nowdir, screenaixY) / nowdir.magnitude * screenaixY.magnitude; angle = Mathf.Acos(cosvy) * Mathf.Rad2Deg; if (cosvx GetComponent().clip = Resources.Load("jump"); GetComponent().PlayOneShot(GetComponent().clip); isjumping = true; playerAnimator.SetBool("ISJUMP", true); } else if (angle > 45 && angle GetComponent().clip = Resources.Load("slide"); GetComponent().PlayOneShot(GetComponent().clip); issliding = true; playerAnimator.SetBool("ISSLIDE", true); } } else { if (angle >= 0 && angle isright = true; StartCoroutine(turnright()); } else if (angle >= 135 && angle float dis = 0; while ((transform.position.x >= -2.1f) && (dis float dis = 0; while ((transform.position.x AnimatorStateInfo info = playerAnimator.GetCurrentAnimatorStateInfo(0); if (info.IsName("JUMP") && (info.normalizedTime >= 1.0f)) { playerAnimator.SetBool("ISJUMP", false); isjumping = false; } } public void slideend() { AnimatorStateInfo info = playerAnimator.GetCurrentAnimatorStateInfo(0); if (info.IsName("SLIDE") && (info.normalizedTime >= 1.0f)) { playerAnimator.SetBool("ISSLIDE", false); issliding = false; } }人物前进在Update中使用CharacterController提供的move函数实现。 if (ismoving) { playerAnimator.SetFloat("MOVESPEED", 2.8f); Moveincrease = transform.forward * speed * Time.deltaTime; if (Time.timeScale != 0) score += Moveincrease.z; ctrl.Move(Moveincrease); speed += 0.005f * (float)System.Math.Pow((Time.deltaTime), 1 / 3); }这样就完成了人物动作的完整实现。 点击运行,我们就可以对人物进行操作了。 接下来,我们来动态生成道路。 跑酷游戏以人物的位置为参数生成道路等,于是我们选择在同一脚本的Update中实现该功能。 /*定义*/ public GameObject bridge; public GameObject wave; public GameObject gold; public GameObject[] hurdle; int count = 0; if (transform.position.z >= 7.5f * count) { float z = 72f + count * lenth; float[] hurdle_x = new float[3] { -width / 2, 0, width / 2 }; float hurdle_y = 0f; float z1 = z - 0.75f * lenth; float z2 = z - 0.5f * lenth; float z3 = z - 0.25f * lenth; float goldpos; float[] hurdle_z = new float[3] { z1, z2, z3 }; Instantiate(bridge, new Vector3(0, 0, z), Quaternion.identity);//生成道路 count++; for (int i = 0; i z1, z2, z3 }; for (int i = 0; i = 1000) { wave.transform.position += new Vector3(0, 0, transform.position.z); } }此时点击运行,会跟随人物生成道路和障碍物,但是人物无法判定碰撞障碍物。 CharacterController提供一个碰撞检测函数OnControllerColliderHit,这个函数会传递一个ControllerColliderHit类的对象作为参数,给出碰撞对象的信息,非常方便。 void OnControllerColliderHit(ControllerColliderHit hit) { if (isjumping && ((hit.collider.name == "Hurdle01(Clone)") || (hit.collider.name == "Hurdle02(Clone)"))) { score +=10; Destroy(hit.collider); } else if (issliding && ((hit.collider.name == "Hurdle03(Clone)") || (hit.collider.name == "Hurdle01(Clone)"))) { score +=10; Destroy(hit.collider); } else if(hit.collider.name=="Goldfish(Clone)") { score +=4; Transform tf=hit.collider.GetComponent(); StartCoroutine(fishdisappear(tf)); } else if(hit.collider.name=="Ground") { } else { playerAnimator.SetBool("ISDEATH", true); gameover = true; } }利用条件处理各种碰撞,同时将其销毁,减少内存消耗。这样处理的好处就是不需要考虑人物体积和碰撞体体积等复杂处理,只需要在碰撞时检测是否做出相应动作即可。 上述函数的子函数: IEnumerator fishdisappear(Transform fishtran) { //yield return new WaitForSeconds(0.01f); GetComponent().clip = Resources.Load("eat"); GetComponent().PlayOneShot(GetComponent().clip); fishtran.gameObject.GetComponent().enabled = false; while (fishtran.position.y StartCoroutine(over()); GetComponent().clip = Resources.Load("death"); if (GetComponent().enabled) if ((!GetComponent().isPlaying) && (inum++ == 0)) GetComponent().PlayOneShot(GetComponent().clip); }死亡处理子函数: IEnumerator over() { AnimatorStateInfo info = playerAnimator.GetCurrentAnimatorStateInfo(0); // Debug.Log("normal" + info.normalizedTime); while (true) { yield return new WaitForSeconds(0.5f); if (info.IsName("DEATH")) { playerAnimator.SetBool("ISDEATH", false); //gameover = false; //Debug.Log("timescale"); //yield return new WaitForSeconds () GetComponent().enabled = false; Time.timeScale = 0; } } }Update中的其他一些处理(由于动画资源并不完全合适,主要用于调整): int inum = 0; AnimatorStateInfo info = playerAnimator.GetCurrentAnimatorStateInfo(0); if (info.normalizedTime >= 1.0f) waitaction = true; if (info.IsName("RUN") && waitaction) ismoving = true; if (info.IsName("RUN")) playerAnimator.speed = 1.5f * Time.timeScale; if (info.IsName("JUMP")) playerAnimator.speed = 5f * Time.timeScale; if (info.IsName("SLIDE")) playerAnimator.speed = Time.timeScale;至此,playercontroller的脚本全部完成,游戏效果如下: |

 这时点击运行会看到如下画面:
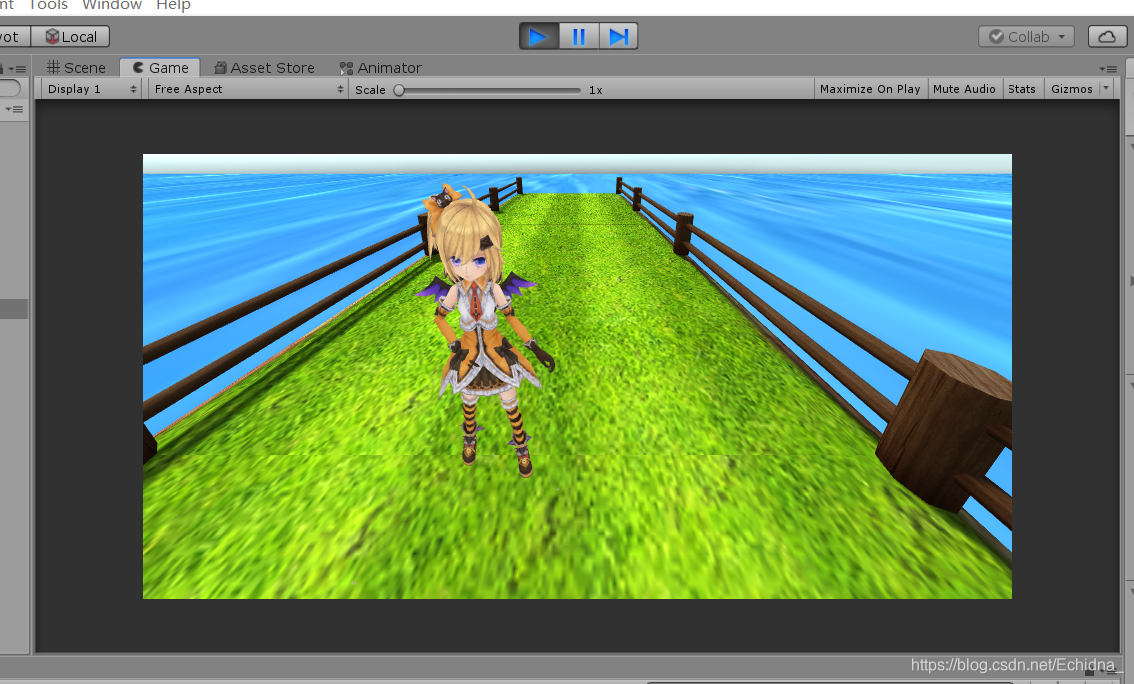 如果上一篇的动画状态机设置正确的话,人物应该会处于待机动画,而需要这个动画循环的话,只需要将该动画的Loop Time和其子属性Loop Pose勾选即可,如下。
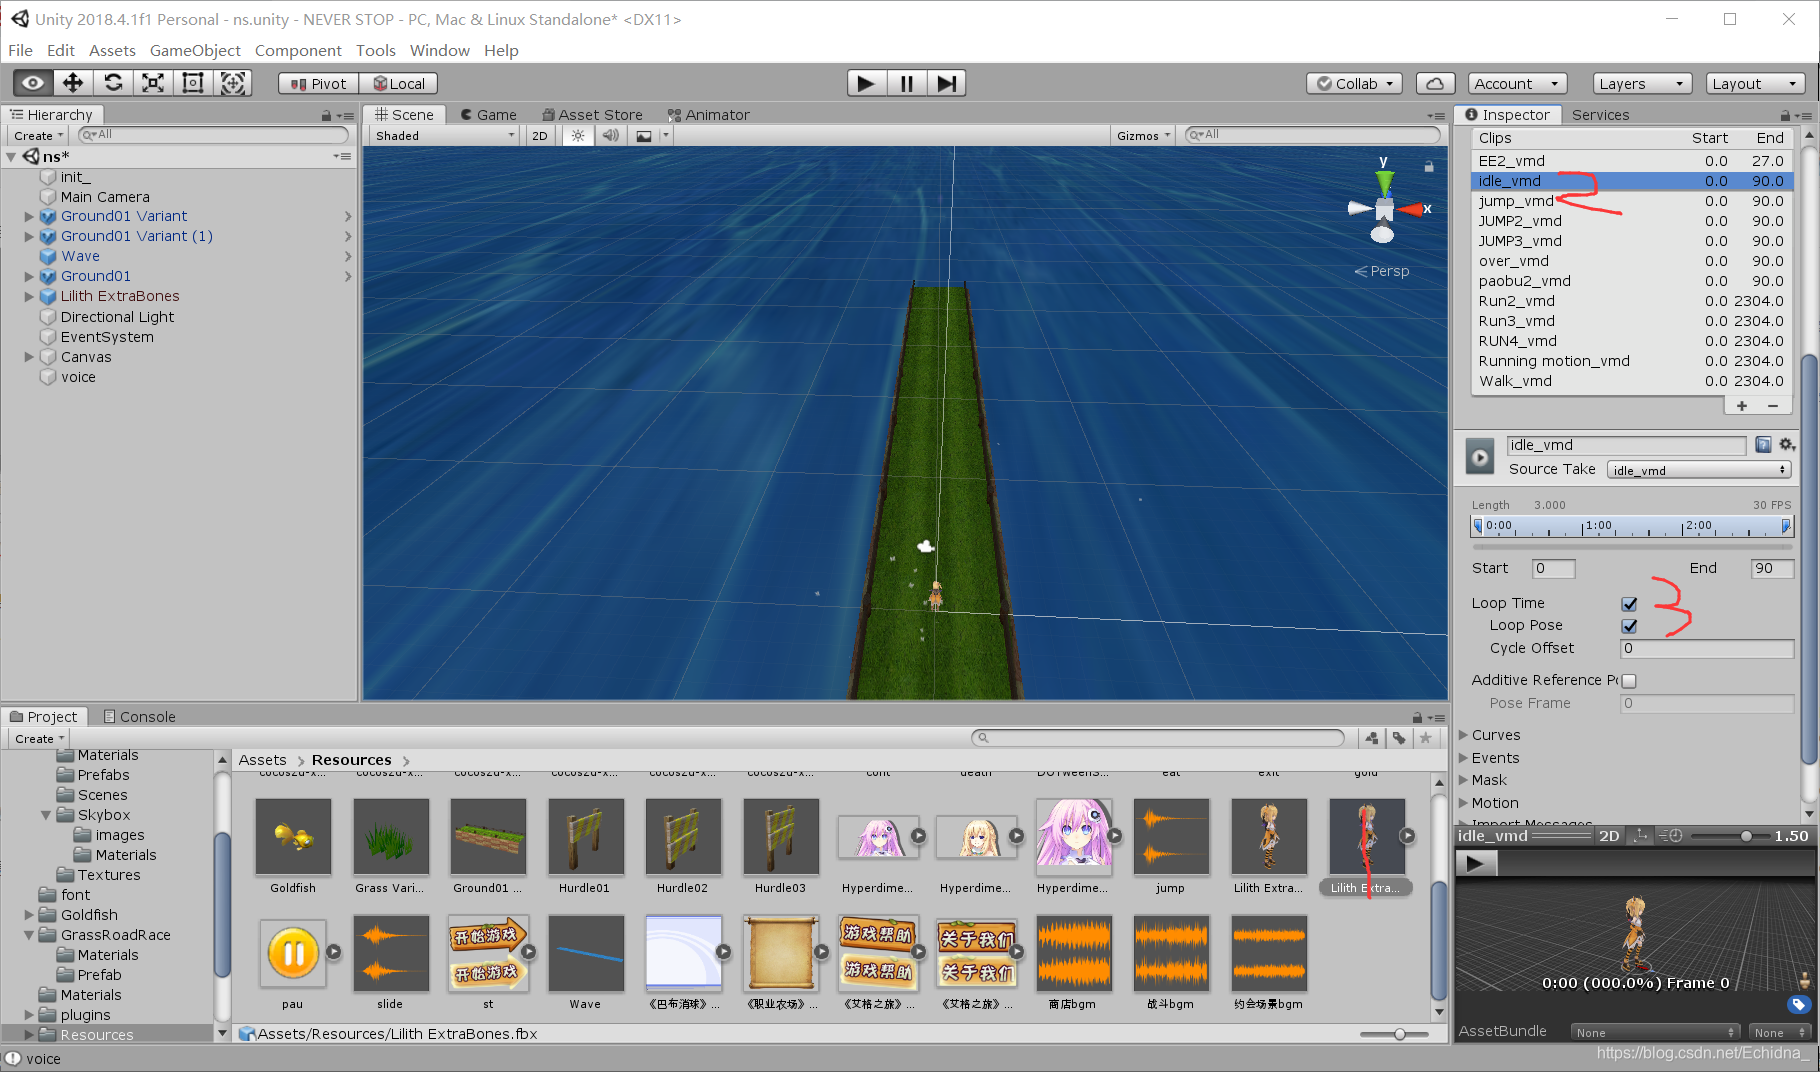 那么,到现在场景的摆放基本完成,ui方面会在下篇说明。
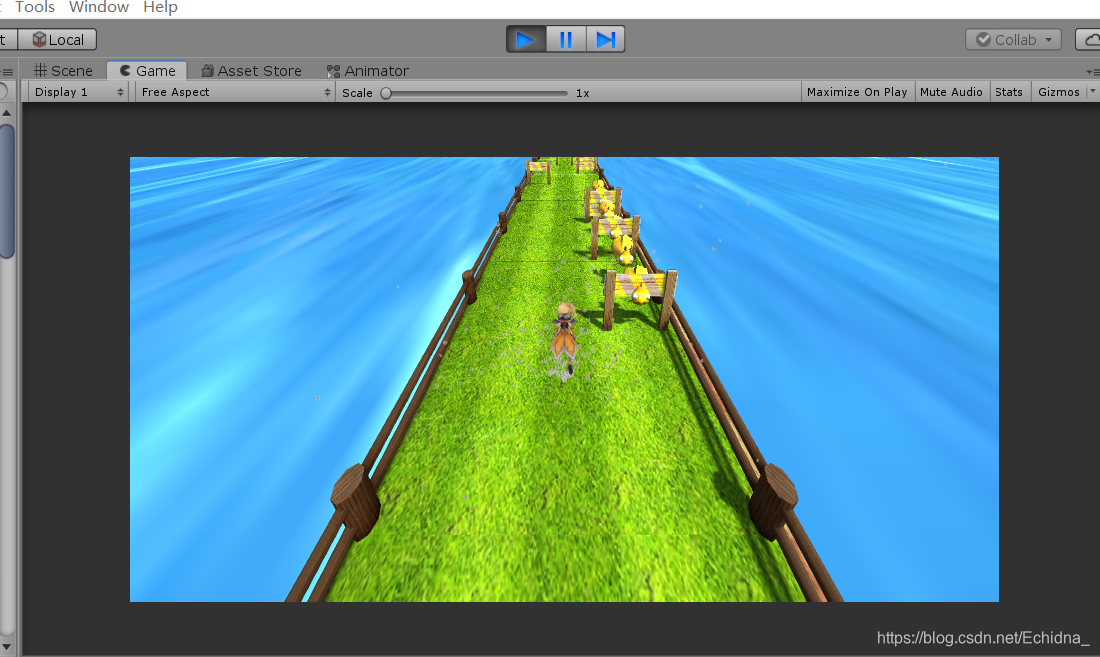
【本文地址】
今日新闻 |
推荐新闻 |